Hľadať ...
Úvodná stránka
Katedra
O nás
Promo video
EMT
Technické vybavenie
Pracovníci
Kvalita vzdelávania
Uplatnenie absolventov
Úspešní absolventi
Spolupráca
Sponzori a partneri
Fotogaléria
Kontakt
Pre študentov
Konzultačné hodiny
Harmonogram akademického roka
Bakalárske štúdium
Magisterské štúdium
Doktorandské štúdium
Záverečné práce
Mobility
Kariérne poradenstvo
Odborná prax
Pre uchádzačov
Štúdium prekladateľstva a tlmočníctva
Prijímacie konanie
Rigorózne konanie
Výskum
Oblasti výskumu
Projekty
Publikácie
Členstvo v organizáciách
Transterm
Bridge Journal
Výskum a výučba audiovizuálneho prekladu (AT Ö-SR 2021-05-15-002)
Podujatia
Podujatia
Tradícia a inovácia v translatologickom výskume
Výzva
Program
Hlavní rečníci
Minulé ročníky
Jesenná škola audiovizuálneho prekladu
Translation, Interpreting and Culture
Translatológia na Ukrajine ako integrálna súčasť európskeho kontextu
Odkazy
Nachádzate sa tu:
Úvodná stránka
/
Katedra
/
Fotogaléria
/
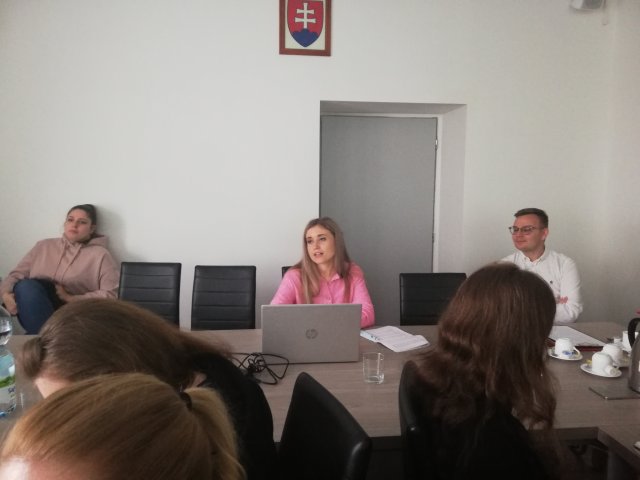
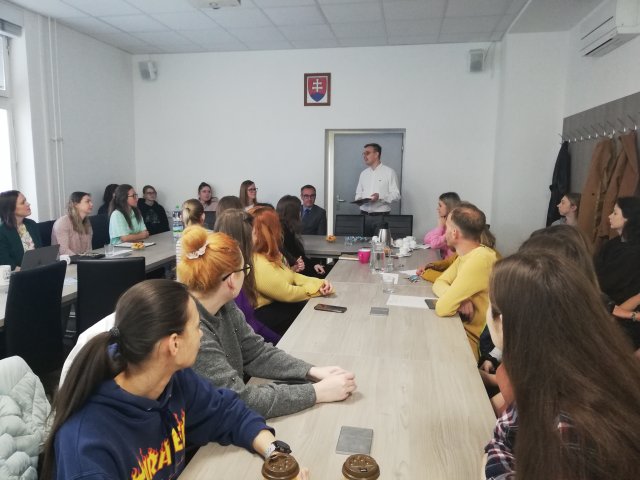
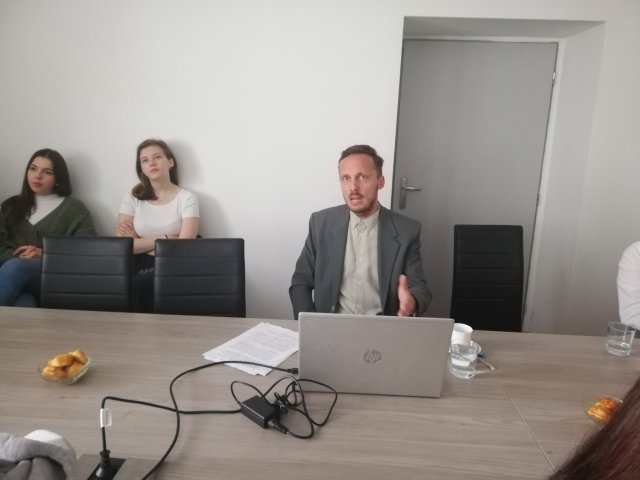
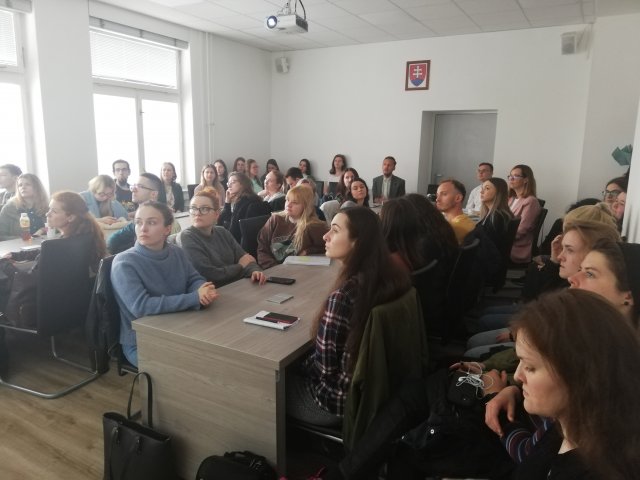
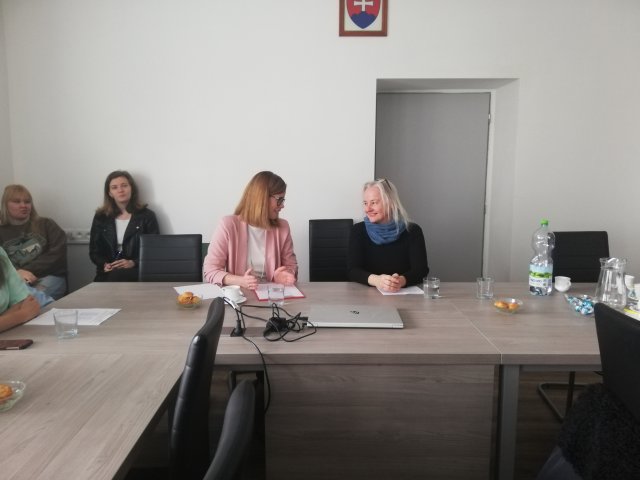
2023 | Tvorivé prekladateľské reflexie 12
tpr1
tpr2
tpr3
tpr4
tpr5
tpr6
Ordering
Ordering Ascending
Ordering Descending
Title Ascending
Title Descending
Date Ascending
Date Descending
Rating Count Ascending
Rating Count Descending
Rating Ascending
Rating Descending
Hits Ascending
Hits Descending
Display Num
5
10
15
20
50
All
Powered by
Phoca Gallery
")
")